If you’re experiencing an error on your site, a great first step is to enable error logging so that you can get more info about what’s going wrong.
Enable via Debug Log Manager Plugin
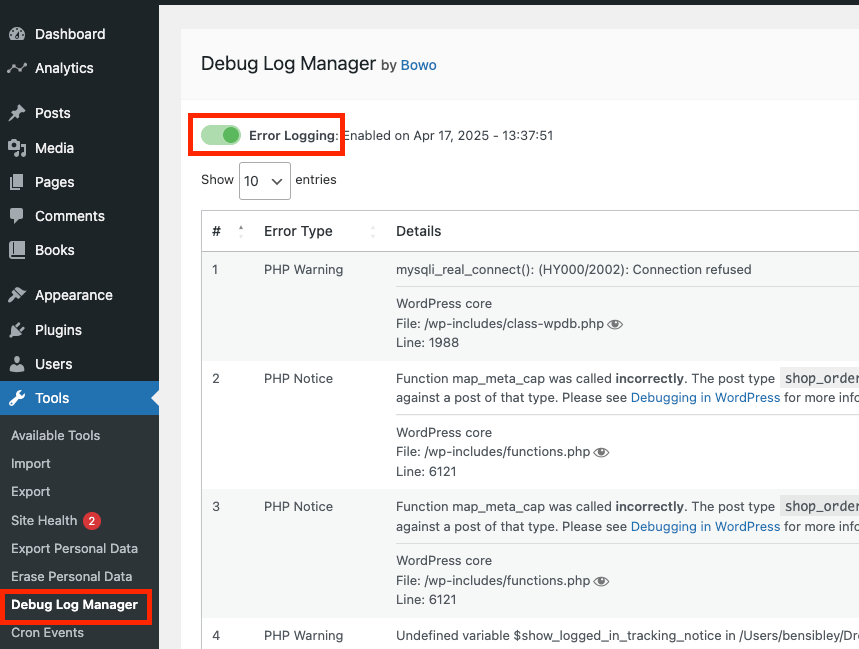
The easiest way to enable debugging is to install and activate the Debug Log Manager plugin.
After installing and activating this plugin, visit the Tools > Debug Log Manager menu. Then, enable the Error Logging option at the top of the page.
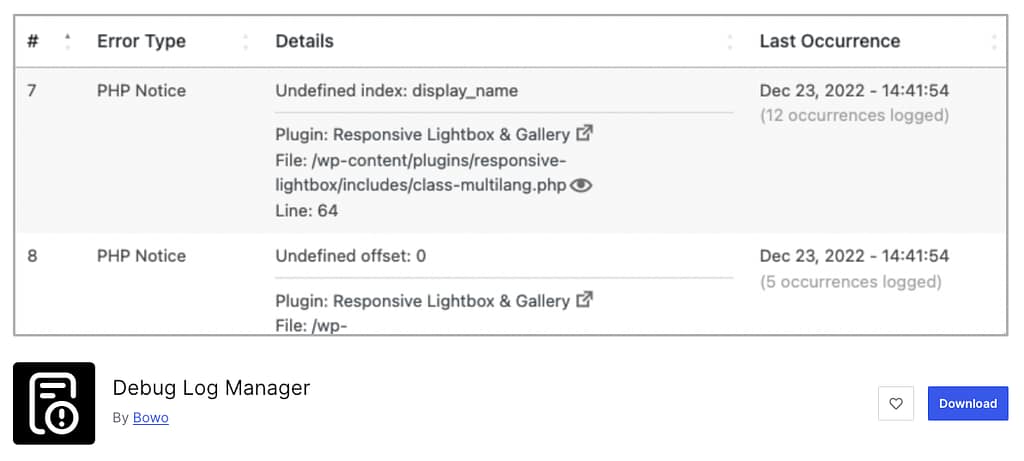
Any error messages that get triggered will now be captured here in the log. Each error will only show up once, which makes the log much easier to read. You can see how many times each error occurred on the right side of the page.
Once you have error logging enabled, try recreating the original error that you are debugging, and this will capture the full PHP error message in the log.
The most recent error messages show up at the top, but there is a search bar you can use to search for “independent-analytics” to find any error messages coming from our plugin.
When you are finished, you can disable error logging and clear the log before deleting the Debug Log Manager plugin.
Enable via wp-config.php
To enable error logging without installing a new plugin, start by accessing your site via FTP. You can use a standalone app like FileZilla if your hosting account doesn’t include a file manager tool.
Once connected, locate and open the wp-config.php file. At the bottom of the file, add the following three lines of code:
define( 'WP_DEBUG', true );
define( 'WP_DEBUG_LOG', true );
define( 'WP_DEBUG_DISPLAY', false );
This code tells WordPress to enable debugging, save errors to the debug log, and not display any error messages on the site.
Once wp-config.php is saved, you can recreate the same error as before, and the error message will be saved in the debug log. Then, you can download the log from the following location: wp-content/debug.log.
You can use this info to debug the issue yourself or share it with us, and we can help to resolve the error.
After the error is resolved, you can delete the three lines of code added to your wp-config.php file.
